搭建简单的 LNMP 开发环境
主要步骤
- 创建 nginx 容器
- 创建 phpfpm 容器
- 创建自定义网络
- 配置 nginx 和 phpfpm 容器通过自定义网络通信
- 创建 mysql 容器
- 联通 mysql、phpfpm、nginx 容器间的互通
- 测试
配置 nginx 容器
通过 docker 仓库中 nginx 镜像的使用方法介绍我们得知
- nginx的网站主目录在
/usr/share/nginx/html
- nginx 的配置文件位置在
/etc/nginx/
1
2
3
4
5
6
7
8
9
10
11
12
13
14
15
16
17
18
19
20
21
22
23
24
25
| // 运行一个临时的 nginx 容器
$ docker run --name temp-nginx -d nginx
// 在主机上创建 lnmp 目录用于放置相关目录
$ mkdir ~/lnmp
$ mkdir ~/lnmp/wwwroot
// 将容器中的 nginx 配置文件复制到主机的 lnmp/nginx 目录下
$ docker cp temp-nginx:/etc/nginx ~/lnmp
// 删除临时容器
$ docker rm -f temp-nginx
// 在主机上创建 nginx 主目录
$ mkdir ~/lnmp/wwwroot
// 创建 nginx 容器并绑定上面配置的主目录、配置文件目录
$ docker run -d --name nginx \
-p 80:80 \
--mount type=bind,source=/root/lnmp/wwwroot,target=/usr/share/nginx/html \
--mount type=bind,source=/root/lnmp/nginx,target=/etc/nginx \
nginx
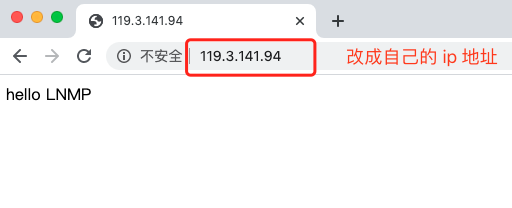
// 创建测试文件
$ echo hello LNMP > index.html
|
测试
配置 phpfpm 容器
使用 Dockerfile 自定义 phpfpm 镜像
1
2
3
| // 创建并进入 easy-php 目录
$ mkdir easy-php && cd easy-php
$ touch Dockerfile
|
配置 apt 软件源为阿里云、安装 iconv、gd、 pdo、mysqli、pdo_mysql 扩展
1
2
3
4
5
6
7
8
9
10
11
12
| FROM php:7.2-fpm
RUN sed -i "s@http://deb.debian.org@http://mirrors.aliyun.com@g" /etc/apt/sources.list \
&& rm -Rf /var/lib/apt/lists/* \
&& apt-get update && apt-get install -y \
libfreetype6-dev \
libjpeg62-turbo-dev \
libpng-dev \
&& docker-php-ext-install -j$(nproc) iconv \
&& docker-php-ext-configure gd --with-freetype-dir=/usr/include/ --with-jpeg-dir=/usr/include/ \
&& docker-php-ext-install -j$(nproc) gd \
&& docker-php-ext-install mysqli pdo pdo_mysql
|
1
2
3
4
5
6
7
8
9
10
11
12
13
14
15
16
17
18
19
20
21
22
23
24
25
26
27
28
29
| // 构建镜像
$ docker build -t my-phpfpm-7.2 .
......省略构建过程
Removing intermediate container 57a5d1acfb6b
---> f7d9f204bec3
Successfully built f7d9f204bec3
Successfully tagged my-phpfpm-7.2:latest
$ docker image ls
REPOSITORY TAG IMAGE ID CREATED SIZE
my-phpfpm-7.2 latest f7d9f204bec3 About a minute ago 423MB
//使用创建好的镜像构建容器
$ docker run -d --name phpfpm \
--mount type=bind,source=/root/lnmp/wwwroot,target=/usr/share/nginx/html \
my-phpfpm-7.2
// 创建一个 lnmp 网络
$ docker network create lnmp
// 将 nginx 容器和 phpfpm 容器加入 lnmp 网络
$ docker network connect lnmp nginx
$ docker network connect lnmp phpfpm
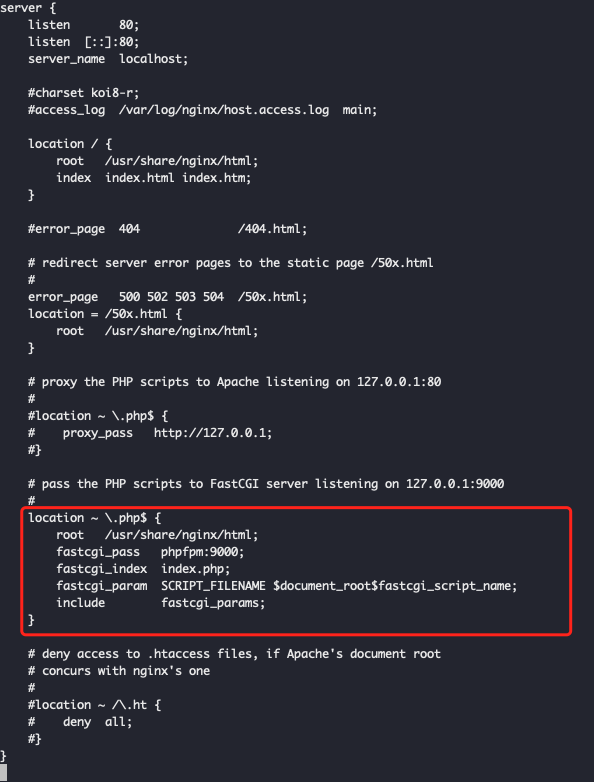
// 修改 nginx 配置文件用于支持 php
// 首先备份一下配置文件
$ cd /root/lnmp/nginx/conf.d
$ cp default.conf default.conf.bak
$ vim default.conf // 修改后的内容如下
|
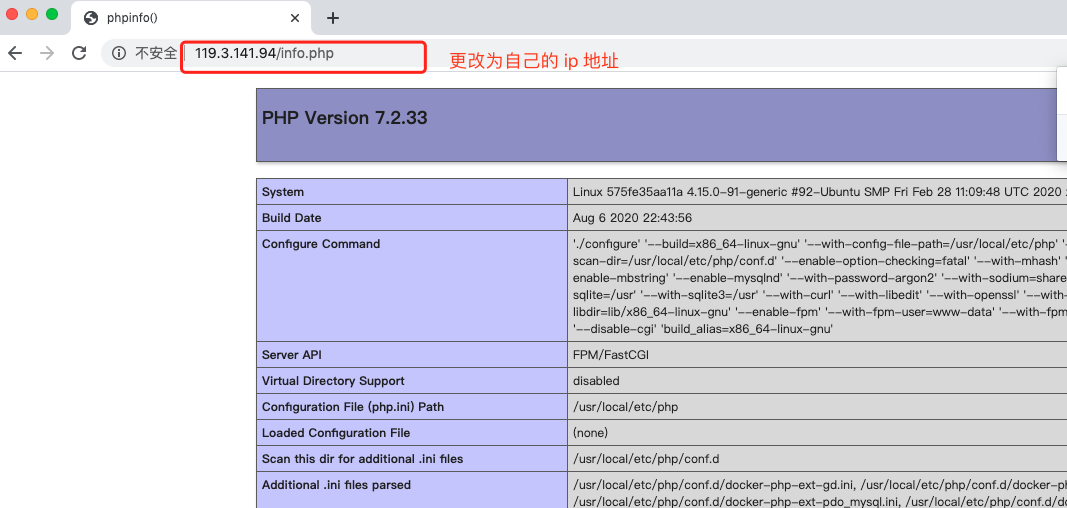
创建测试文件
1
2
3
| $ touch ~/lnmp/wwwroot/info.php
$ echo "<?php phpinfo(); ?>" > ~/lnmp/wwwroot/info.php
|
访问测试
配置 MySQL 容器
1
2
3
4
5
6
7
8
| // 创建 mysql 容器
$ docker run --name mysql -e MYSQL_ROOT_PASSWORD=root -d -p 3306:3306 mysql:5.7
// 将 mysql 容器加入自定义网路 lnmp 中
$ docker network connect lnmp mysql
// 创建 mysql 文件链接 mysql
$ touch /root/lnmp/wwwroot/mysql.php // 内容如下
|
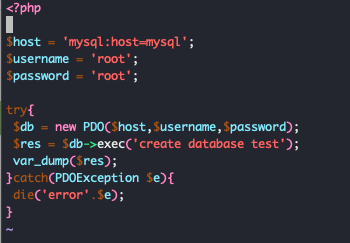
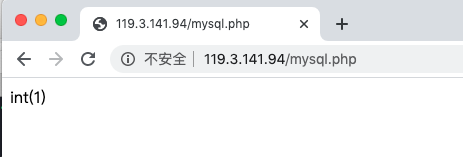
测试(看到如下页面则表示成功)
进入 mysql 容器验证
1
2
3
4
5
6
7
8
9
10
11
12
13
14
15
16
| $ docker exec -it mysql bash
mysql> show databases;
+--------------------+
| Database |
+--------------------+
| information_schema |
| mysql |
| performance_schema |
| sys |
| test |
+--------------------+
5 rows in set (0.01 sec)
|
大功告成,通过上面的内容就可以配置一个简单的 lnmp 的开发环境了,下集见。